

Soldering
Soldering wires onto the Canandmag can look intimidating, especially the CAN lines, but the encoder has been designed to be very straightforward to solder to. While this tutorial uses a full Canandmag, it can often be easier to solder and use it in the breakaway formfactor.
Required items:
- Canandmag
- CAN and power wires (20 to 22AWG preferred)
- Wire stripper and cutter
- Soldering iron
Helpful but not required:
- Helping hands or tape
- Fine soldering iron tip
Step 1: Prepare Materials
Section titled “Step 1: Prepare Materials”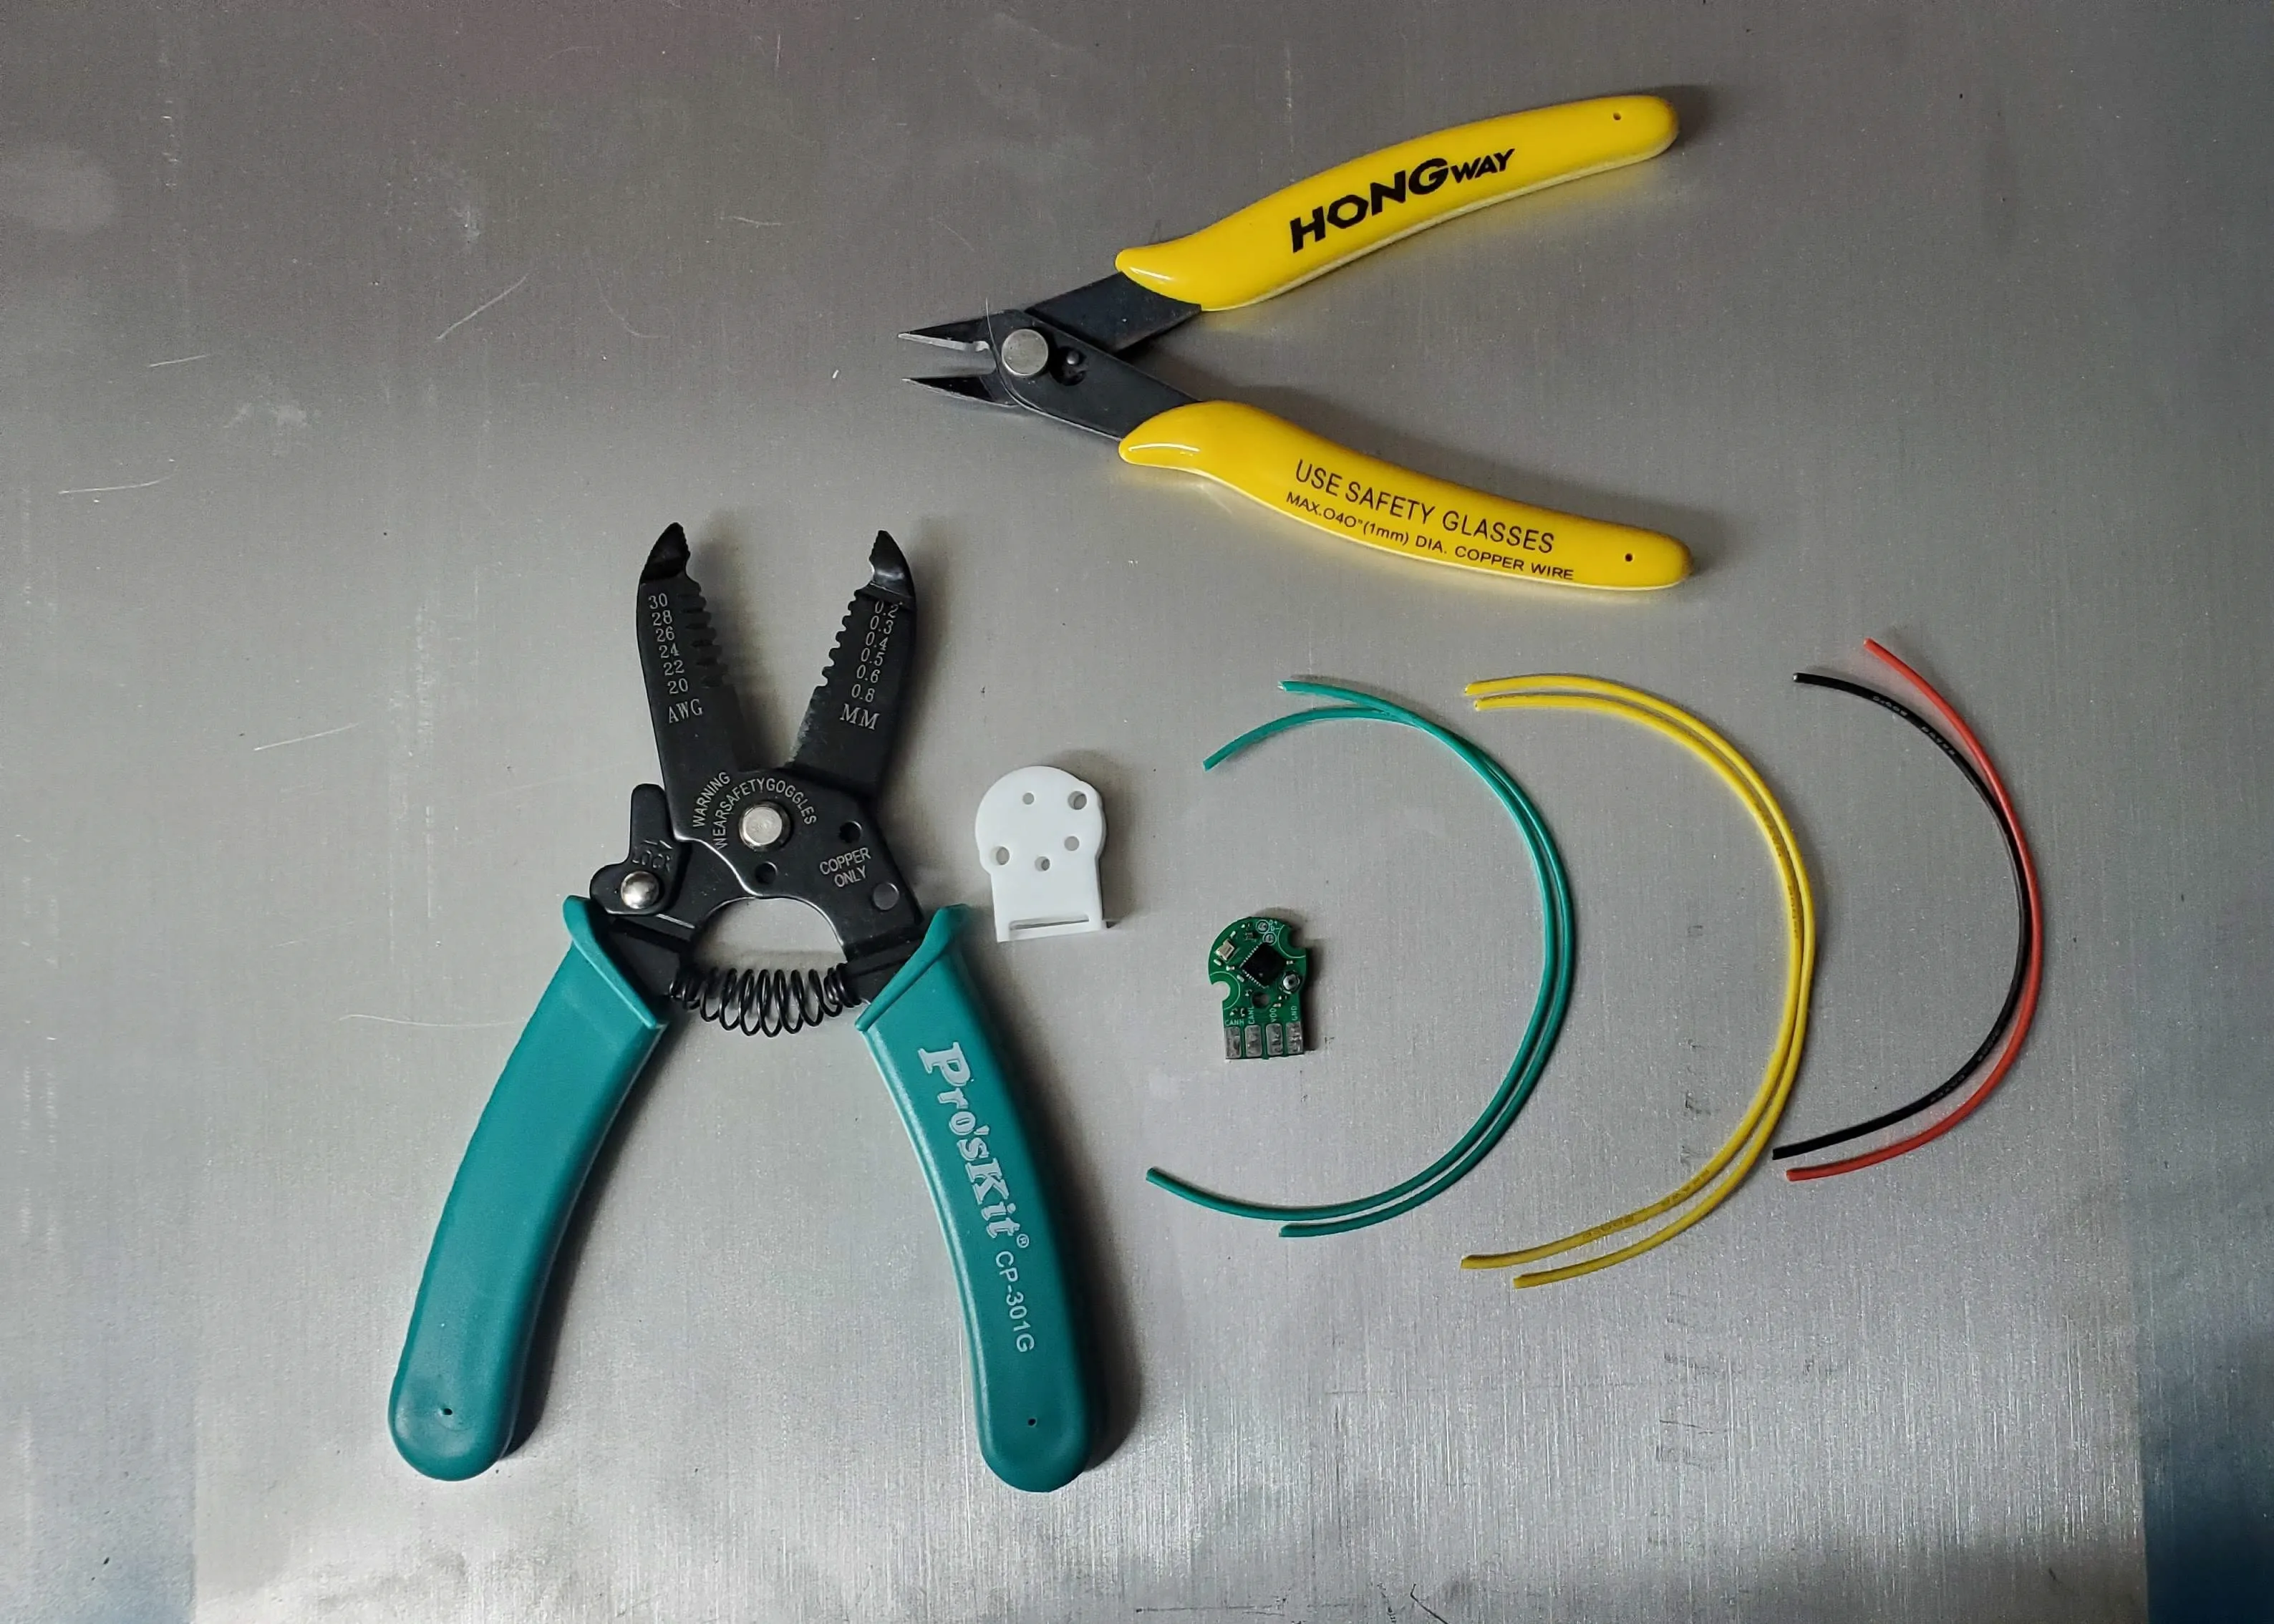
Strip all of the wires about 3/8” from the ends. Twist all wires at the ends to prevent fraying. Twist like-colored CAN wires together.

Next, tin the wires by heating the wires and applying solder.
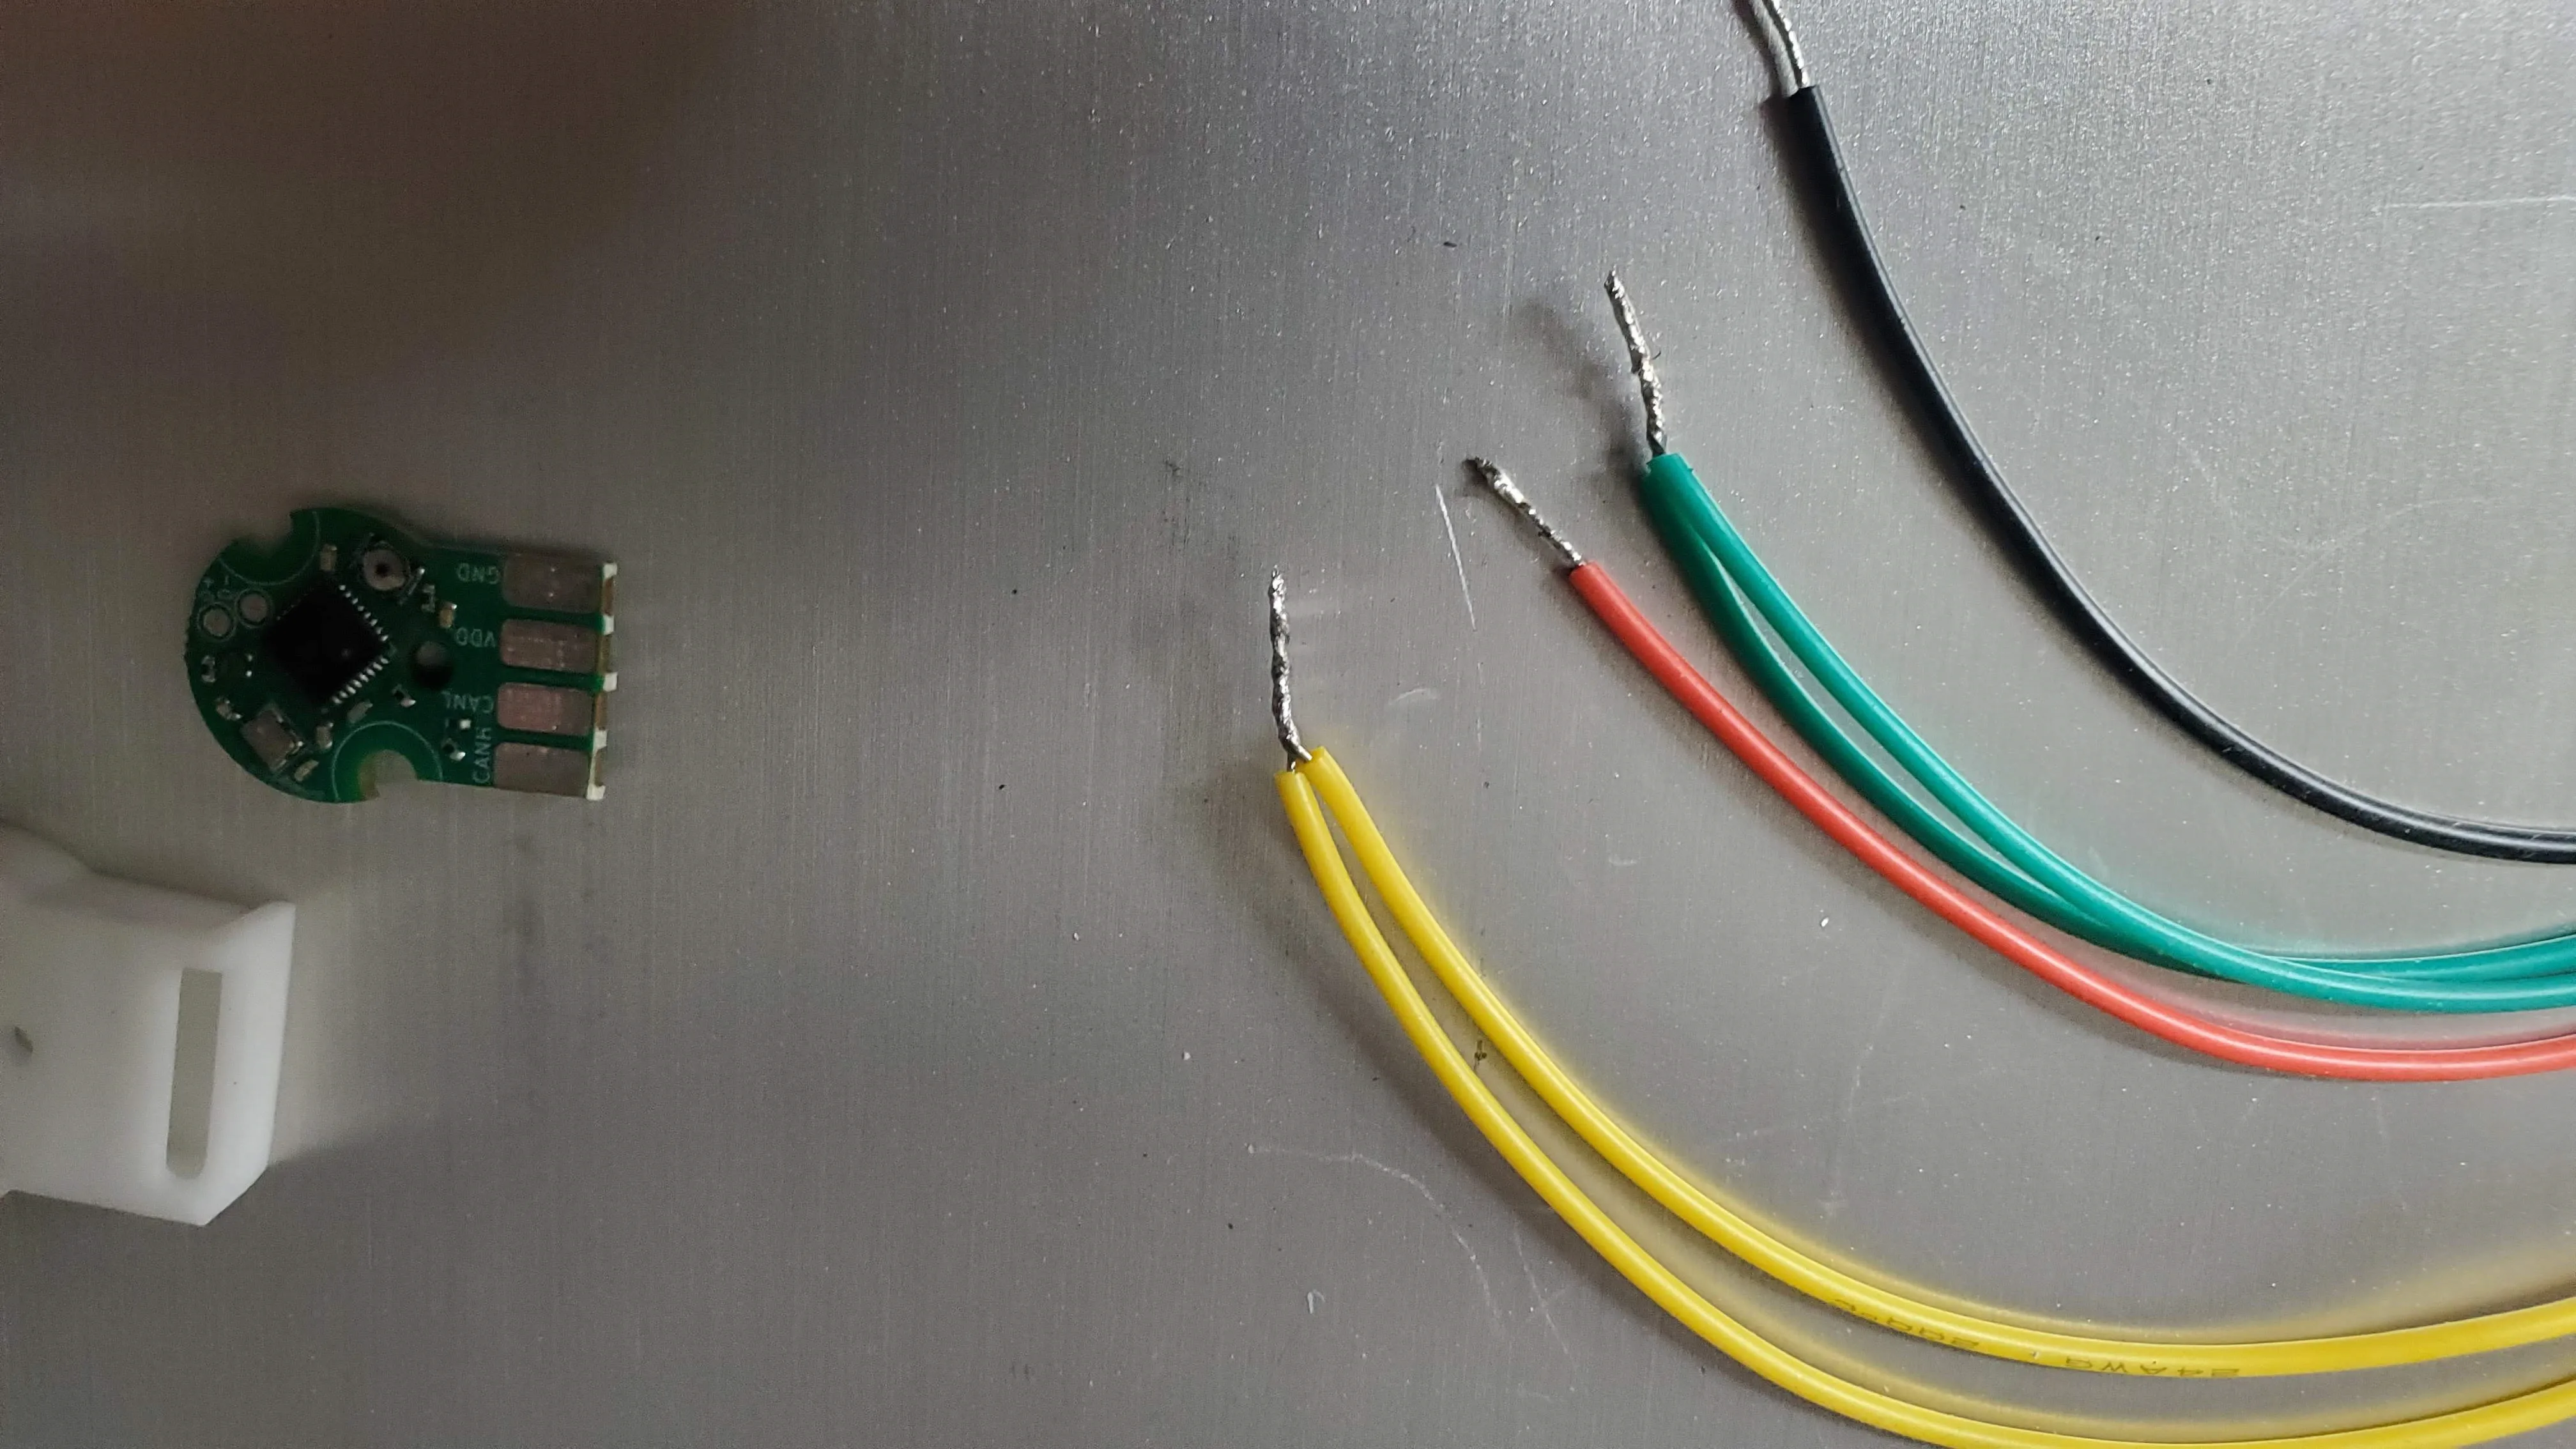
Finally, trim the tinned wires to be under 1/4” long. This will make it easier to fit them on the pads later.
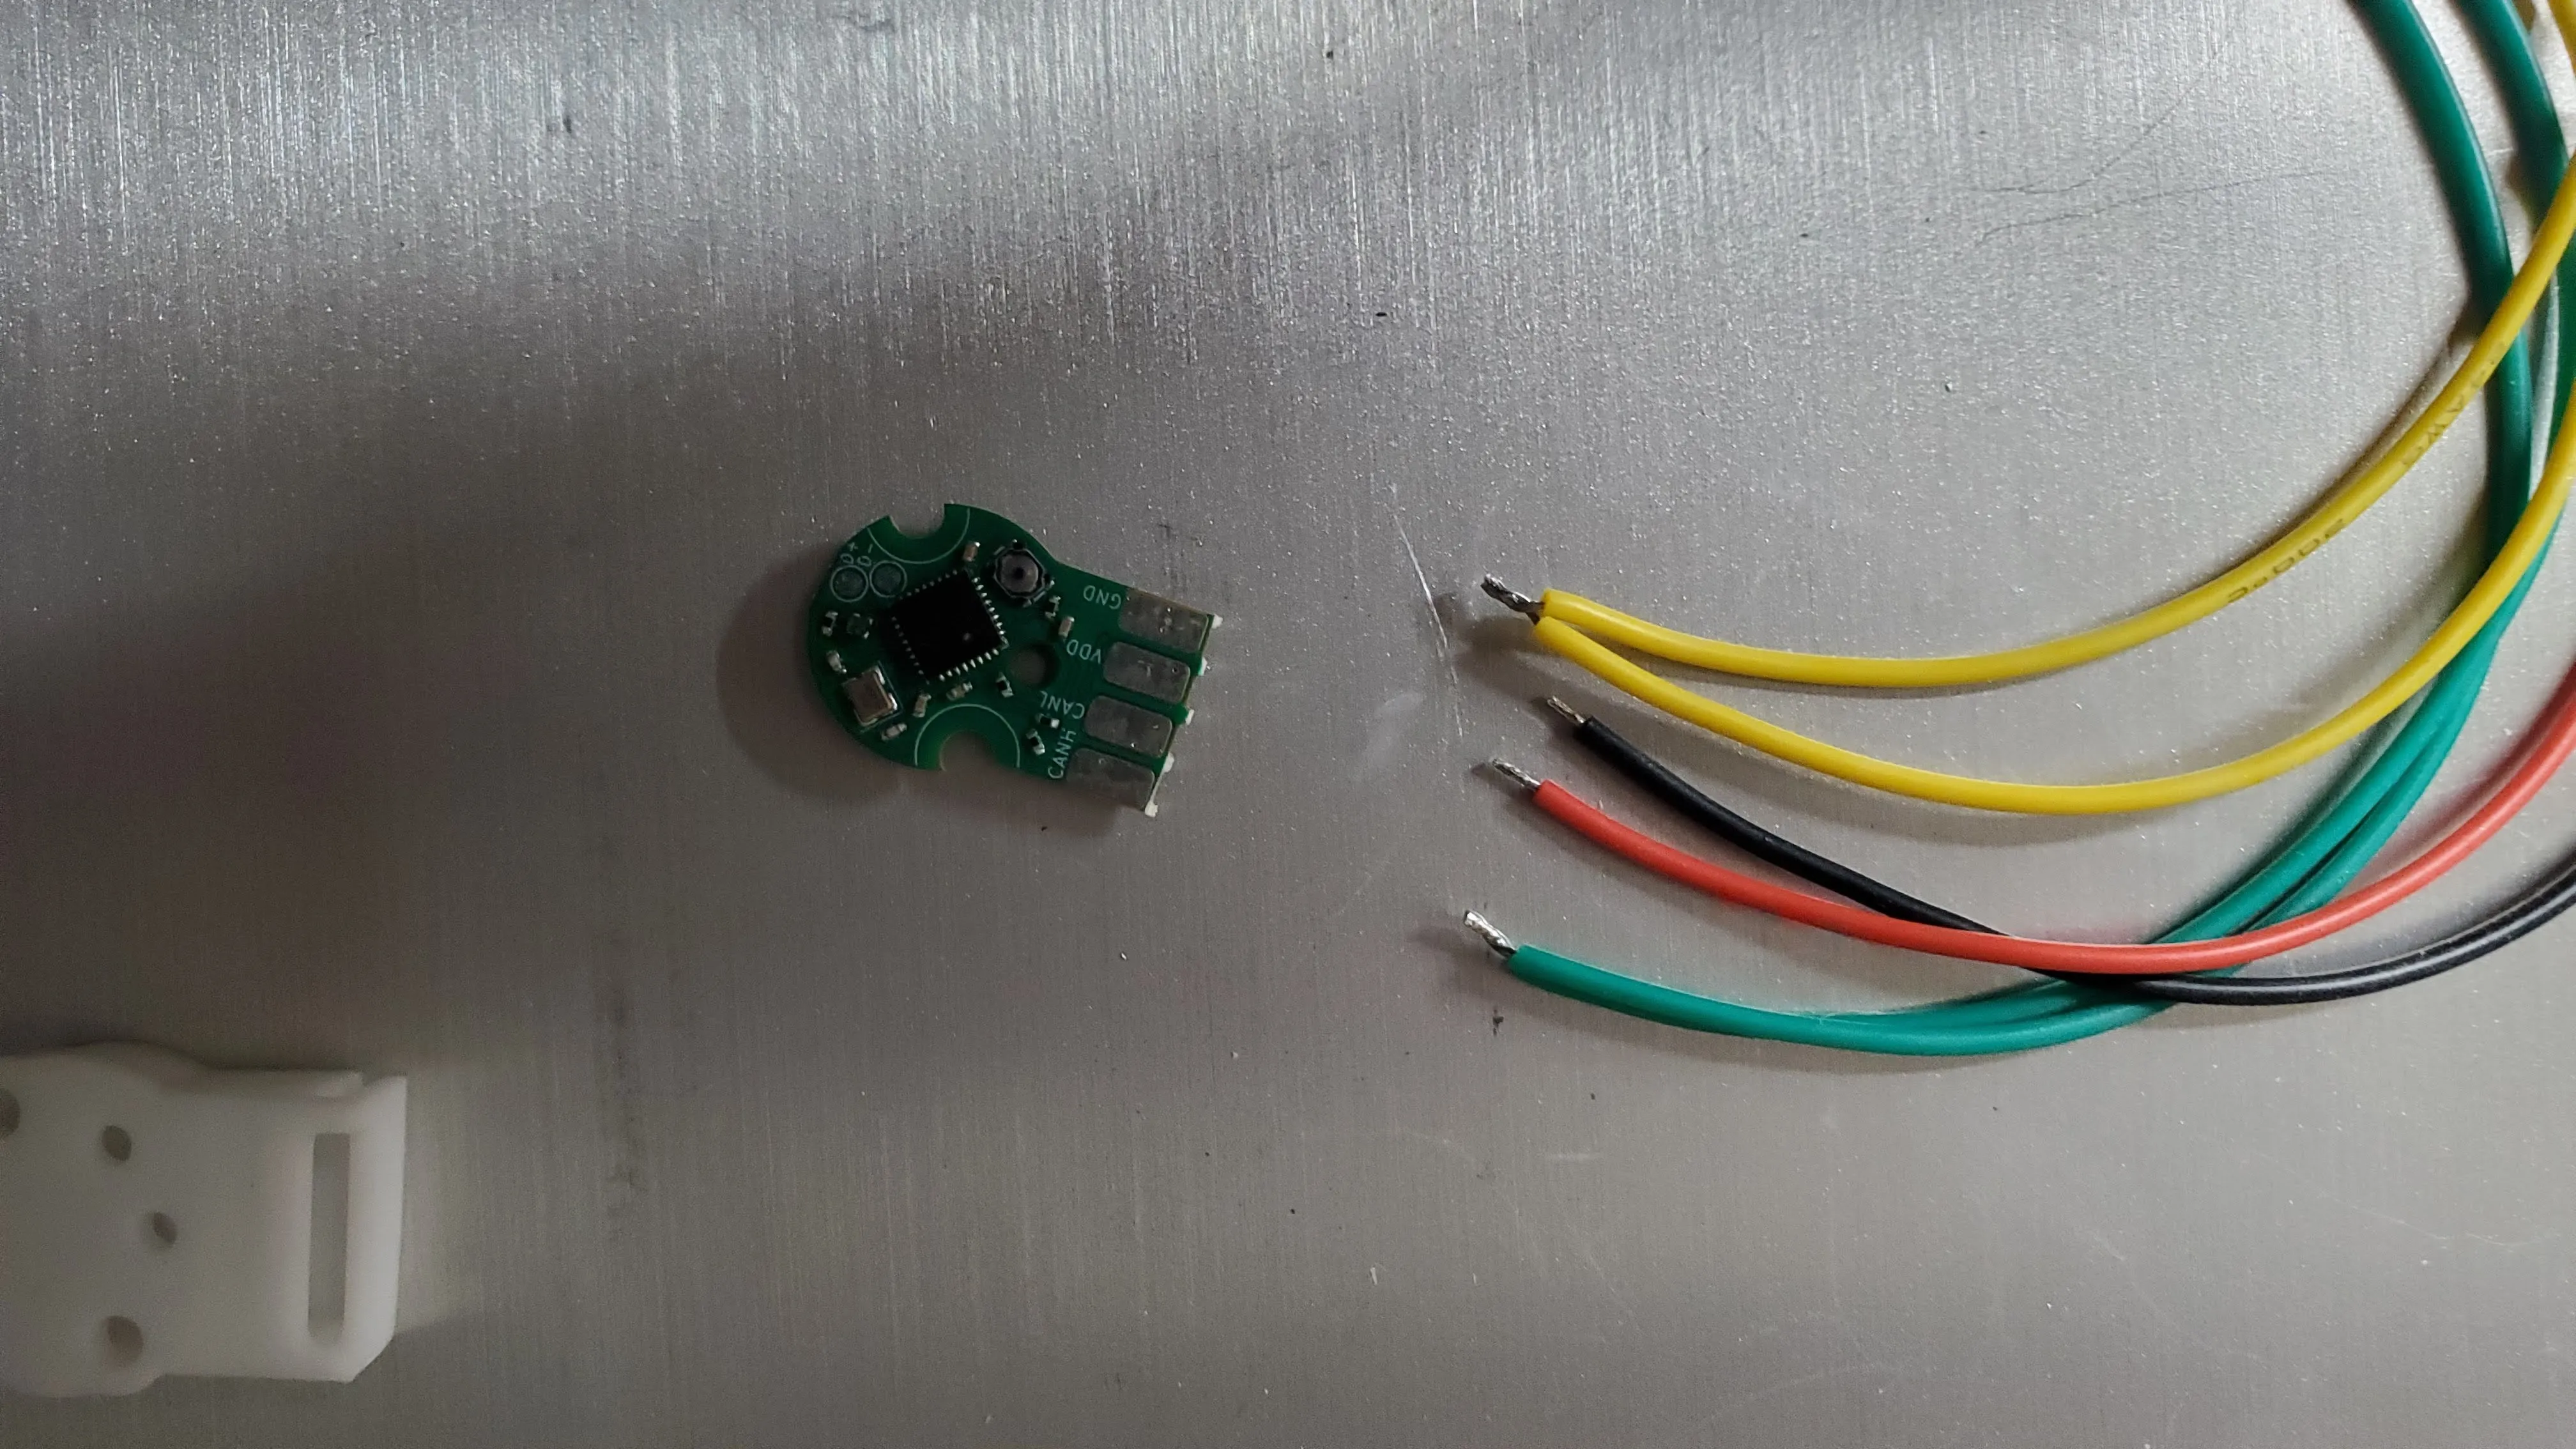
You are now ready to solder the wires to the Canandmag.
Step 2: Prepare Canandmag
Section titled “Step 2: Prepare Canandmag”Tin the pad by first placing the tip of your soldering iron to the pad, in order to heat it. Be careful not to touch the soldering iron to any components on the board. Carefully put solder on the pad near the iron, allowing it to flow over the pad. You want enough solder to cover the pad, but not enough to start overflowing.
Step 3: Soldering
Section titled “Step 3: Soldering”Lay the tinned wire on top of the tinned pad. Be careful not to hold the wire with your fingers, as it will get hot quickly during soldering. Instead, you can use small amounts of tape, helping hands, or tweezers to hold the wire in place.
Carefully hold the soldering iron against the tinned wire, allowing the solder on the wire and pad to flow together.

Repeat the process for the other wires.

You have now soldered the wires onto your Canandmag.