Throughbore Overview
Overview
The Throughbore Upgrade Package allows you to easily mount your Helium Canandmag to different mechanisms. Features include a 1/2 inch hex bore, and a 2 inch mounting circle compatible with #10 bolts.
Assembly
Warning
Improper assembly, such as overtightening screws, can result in permanent damage to the throughbore or encoder
Step 1: Collecting the parts
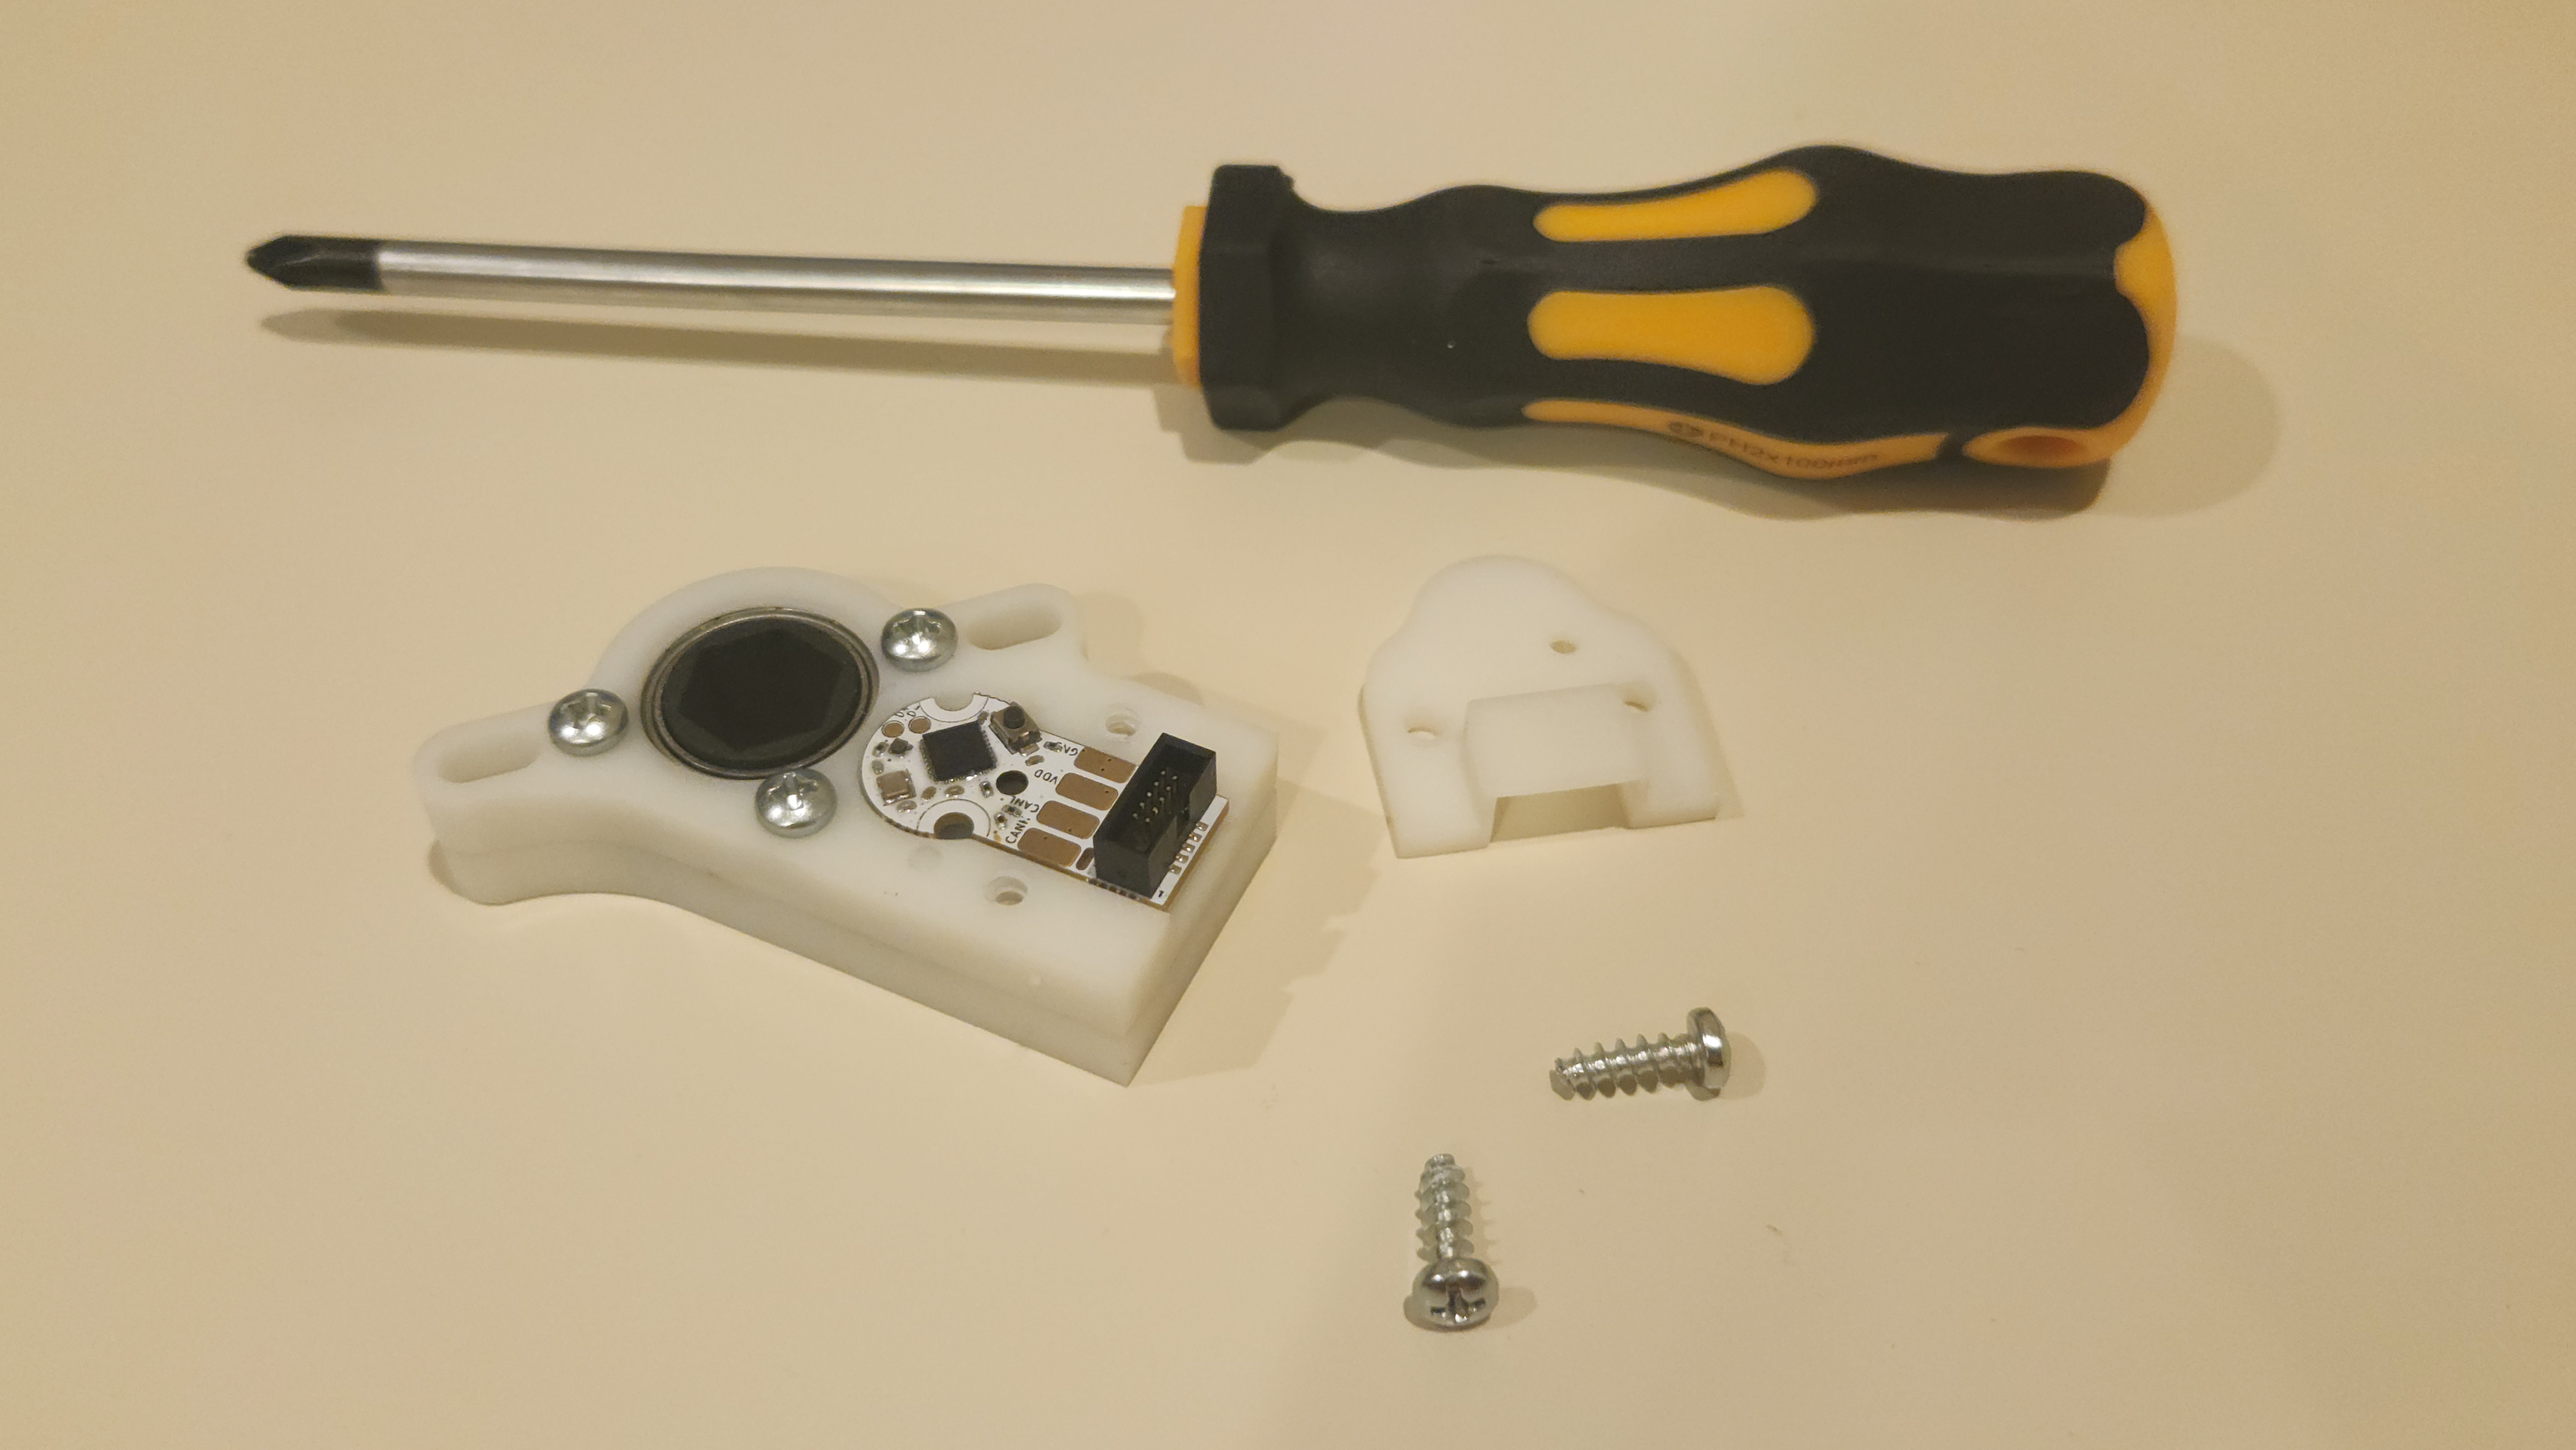
Collect the parts you will need to assemble the throughbore. What you will need is the three items included in the throughbore bag: the throughbore package, the throughbore cover, and the two m4 cover screws. A screwdriver is also helpful to screw in the screws.

Step 1: Place the Encoder
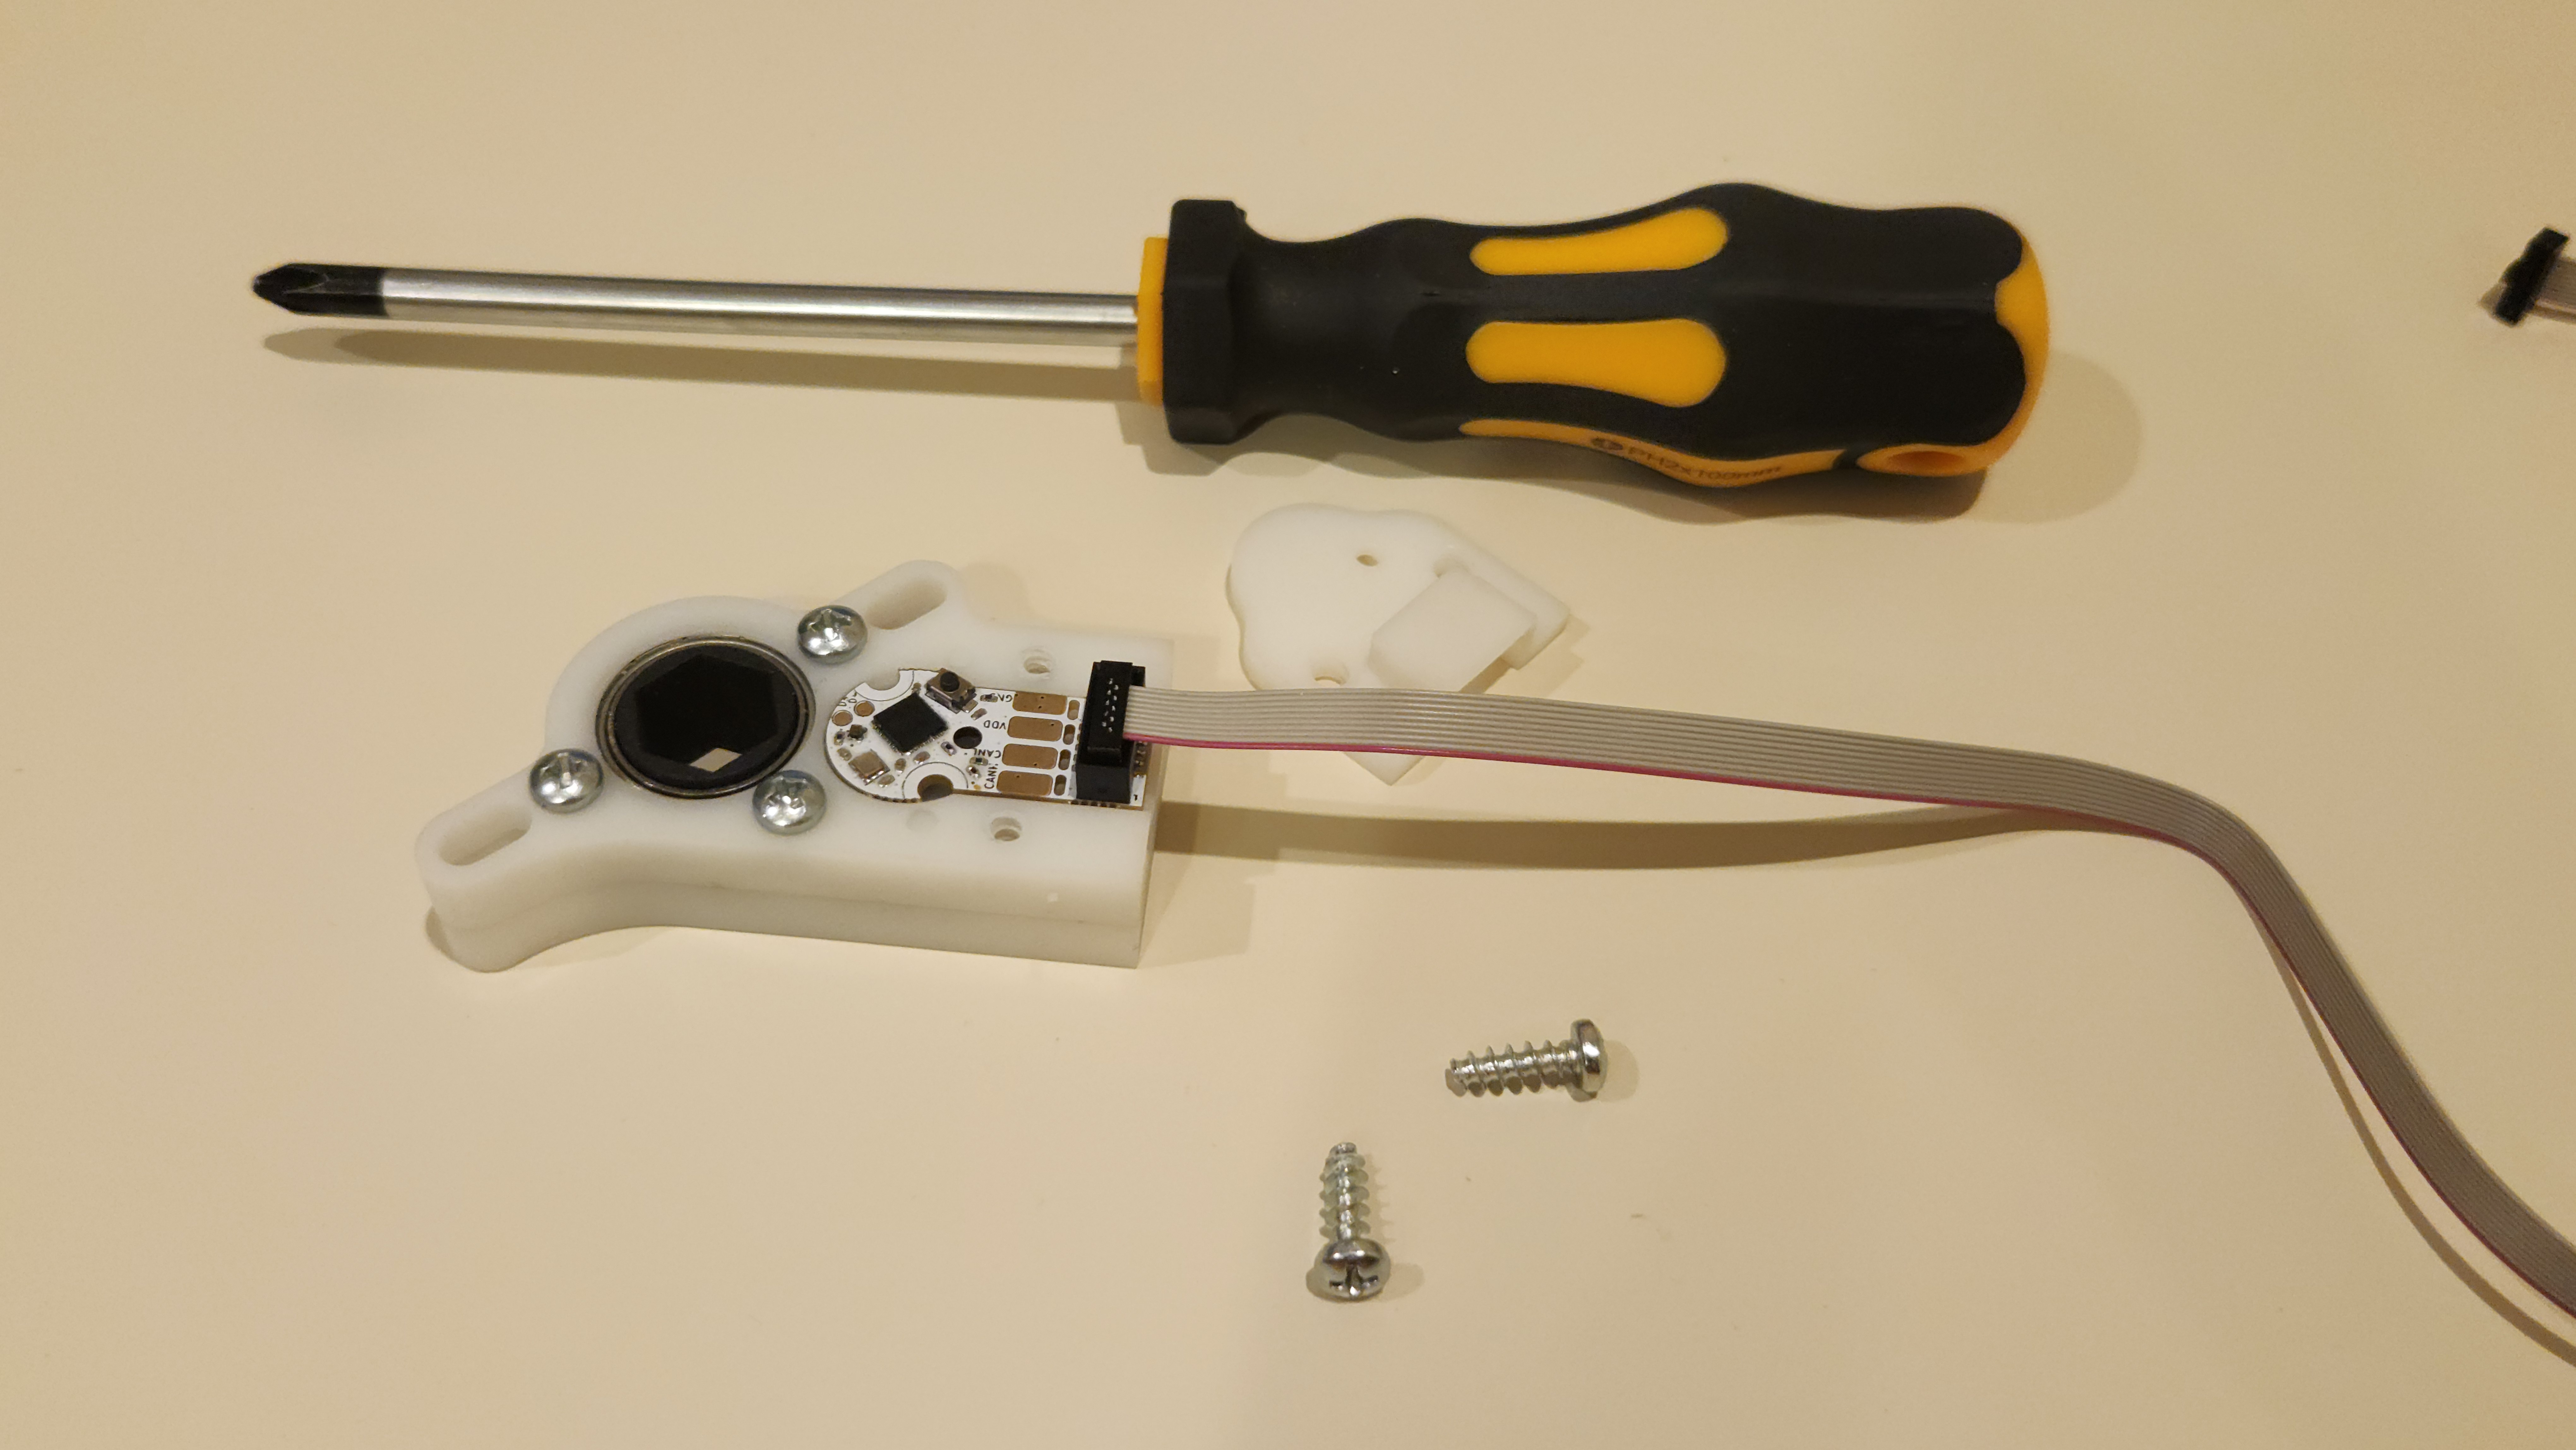
Gently place the encoder into the cutout for it. The CAN pads and IDC connector should be facing up. The CAN pads should be level with the throughbore surface when the encoder is successfully placed into the package.
Tip
Now is the best time to connect the 10 pin IDC or CAN/power wires, as these will be inaccessible after the cover is secured

Step 2: Place the Cover
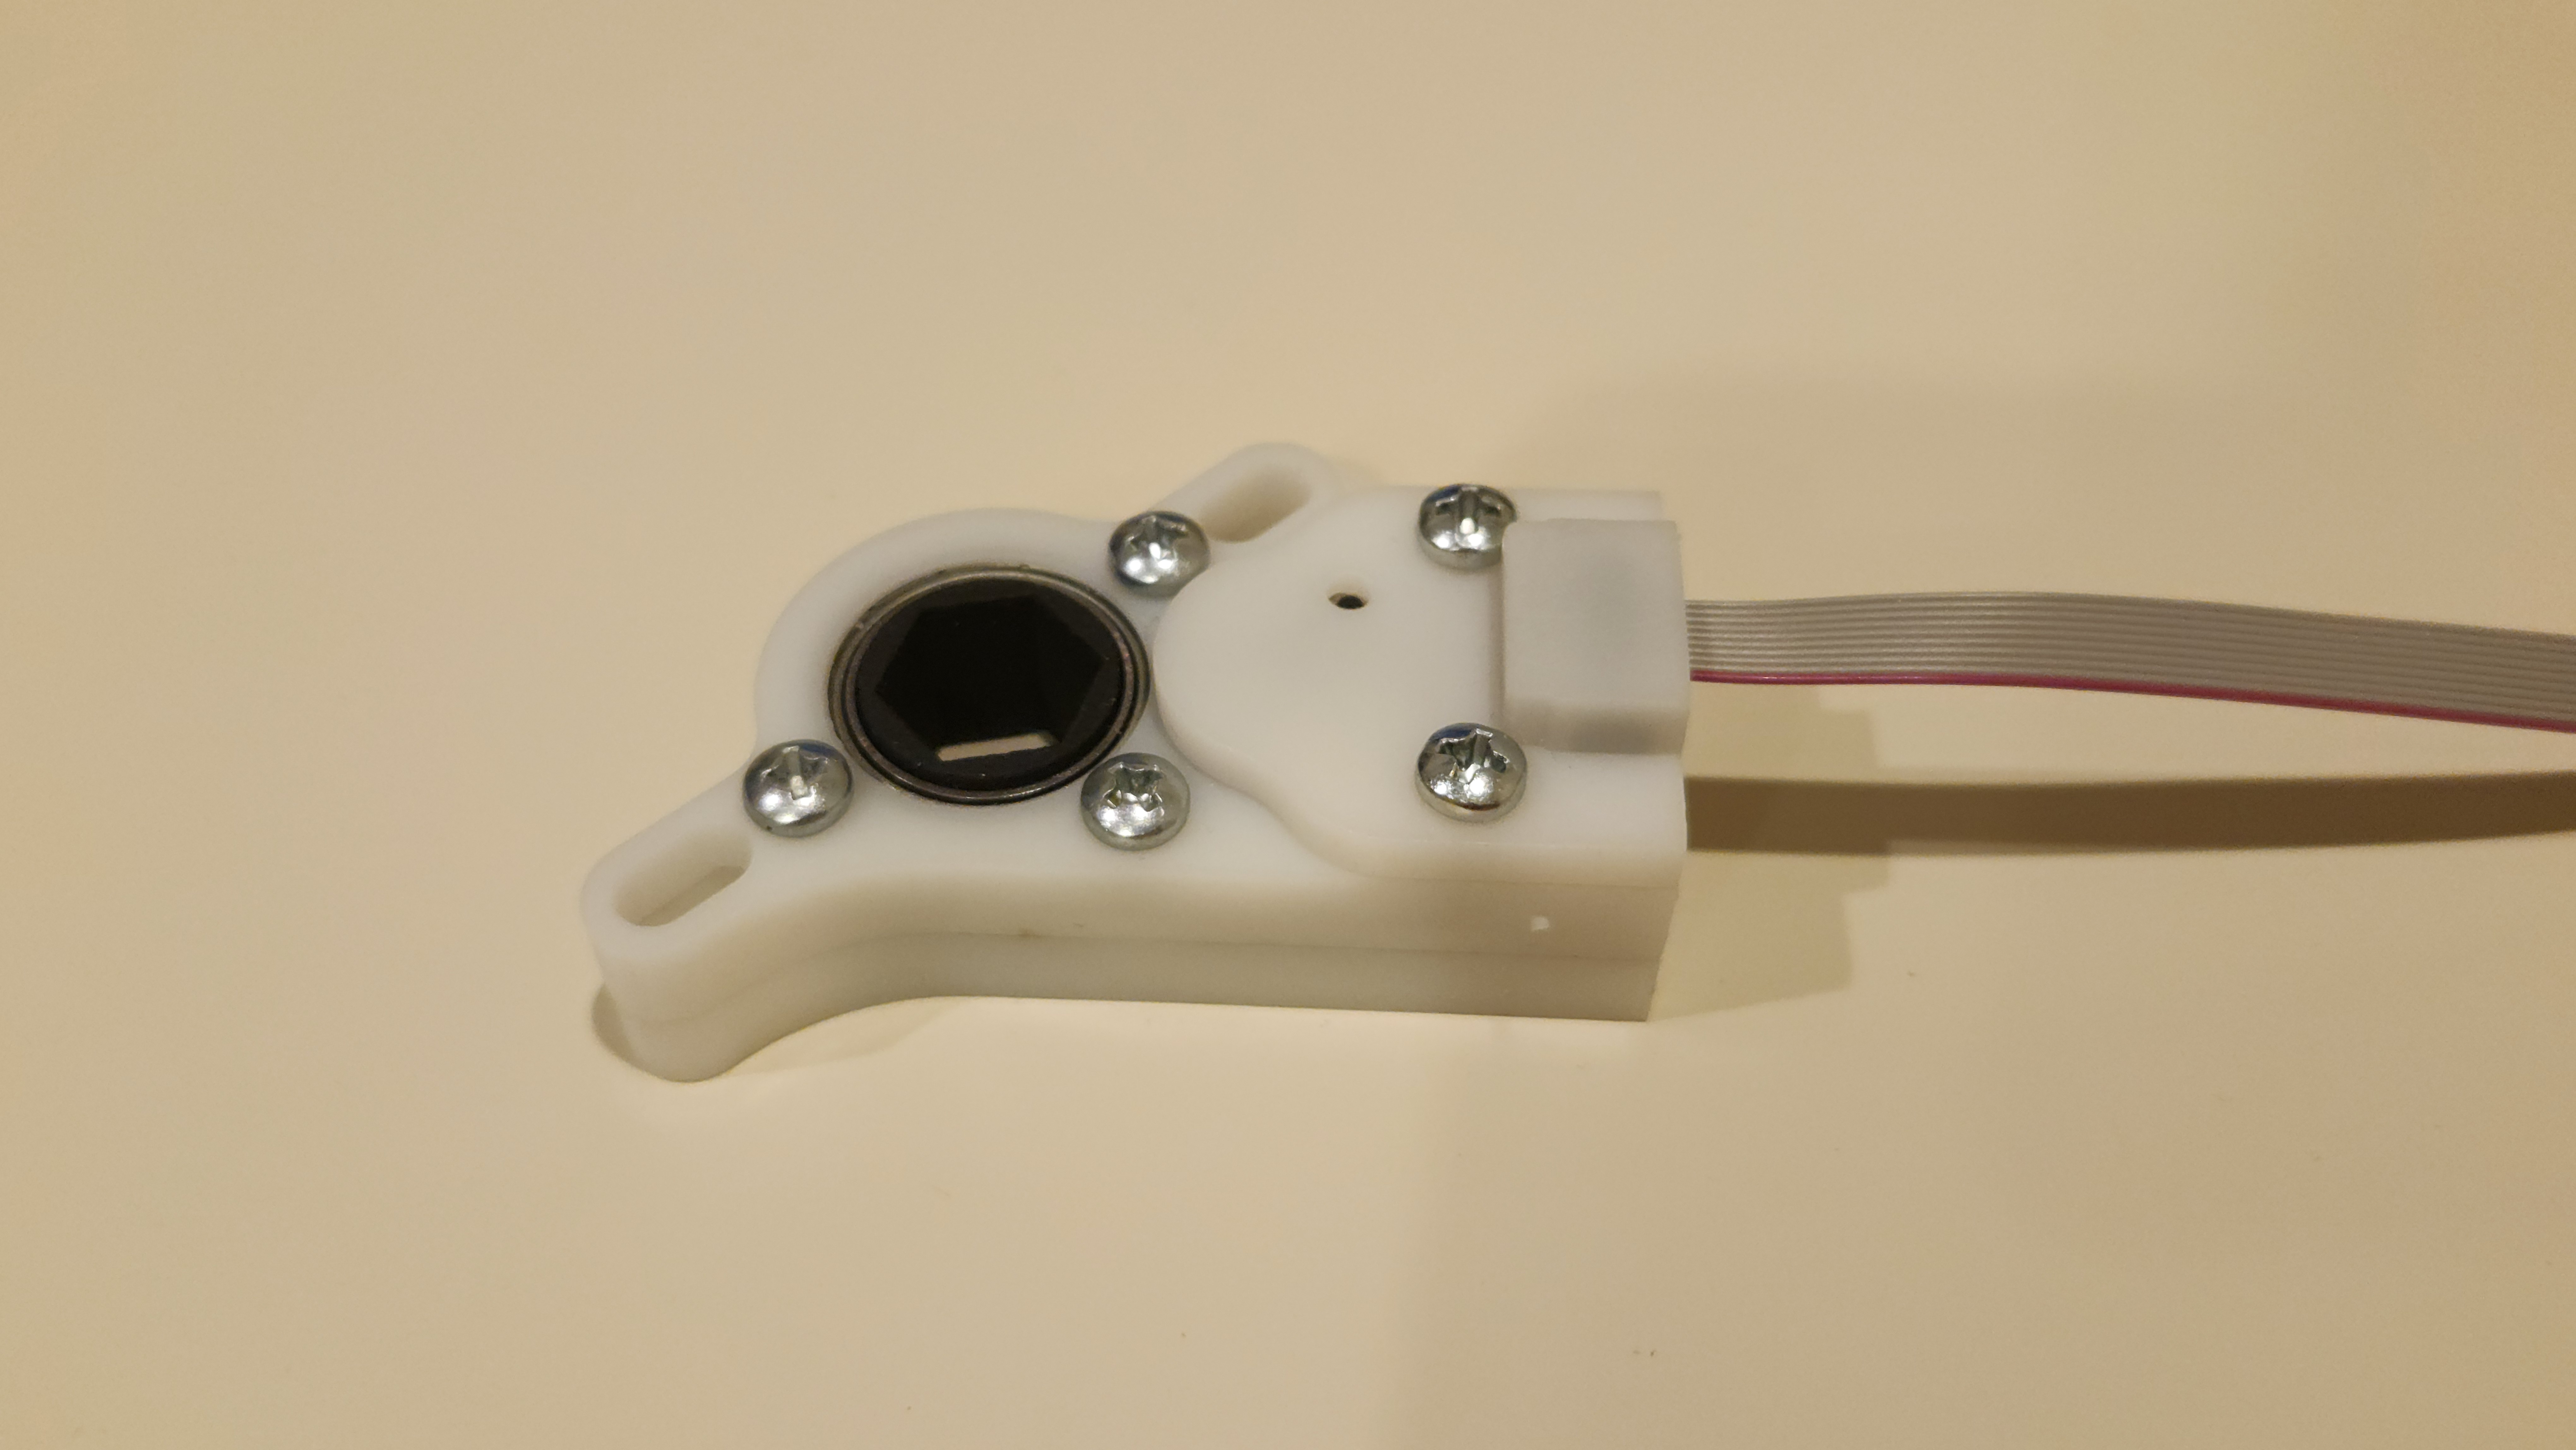
Carefully place the white encoder cover over the encoder, using the two pegs on the cover to align with the two small divots in the throughbore case. When properly placed, the cover should be close to flush with the surface of the throughbore package.
Tip
If your encoder seems like it isn’t sitting properly, do your best to put it in flat, then use the cover to guide it into sitting properly.
Step 3: Screw the Cover on
Using the two M4 screws that came with your throughbore upgrade, screw in the cover.
Warning
Screw in until you feel an increase in resistence and the screw head is sitting flush with the cover. Overtightening may cause damage to the throughbore

Your throughbore is now assembled and ready to use!