Getting Started
The Redux Zinc-V is a robust 5V regulator designed to support vision coprocessors. Its key features include:
5.2V output to compensate for cable loss
4A continuous load current, up to 8A peak
Proven Weidmuller terminal blocks for secure connections
Locking USB-C interface for reliable power delivery
Compact, low-profile design for easy integration
Wide input voltage range (5.3V to 16V) with 24V surge capability
Large input and output solder pads for flexible power connections
3D printable companion Orange Pi 5 cases
Compact footprint with screw holes and zip tie mounts
Input
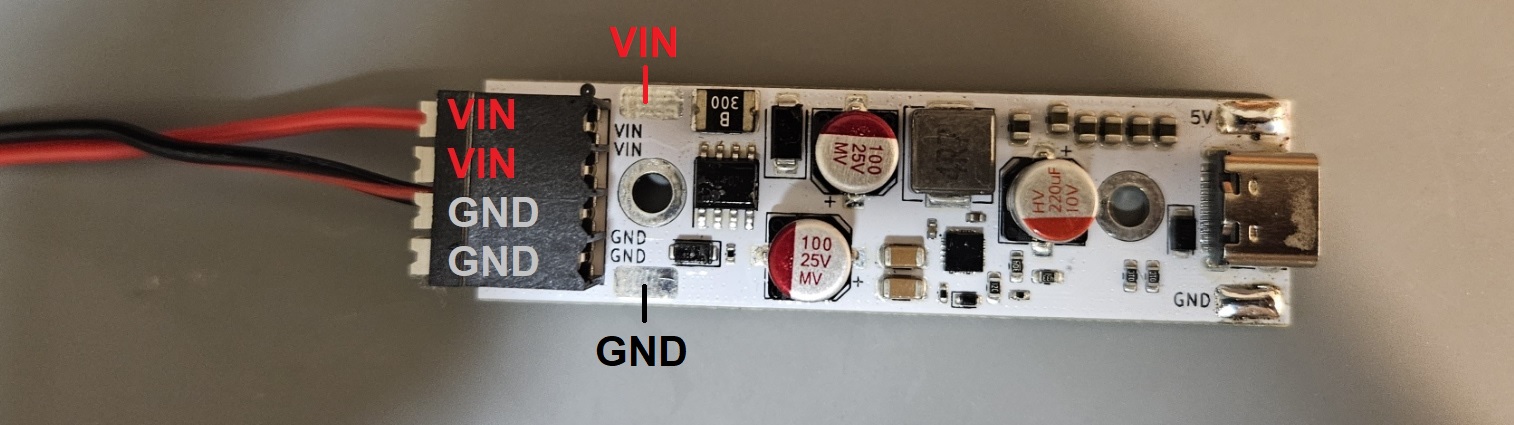
The Zinc-V accepts 5.3-16V via its power input terminals, though surges up to 24V are acceptable. Use 16-24 AWG wire. The Weidmuller input terminal block accepts two positive and two negative wires, enabling easy daisy-chaining. Up to 10A of current can be sent through the daisy-chain interface to other devices, allowing up to 4 Zinc-V to be run over a single pair of wires. Power wires can also be soldered to the VIN and GND pads.
Output
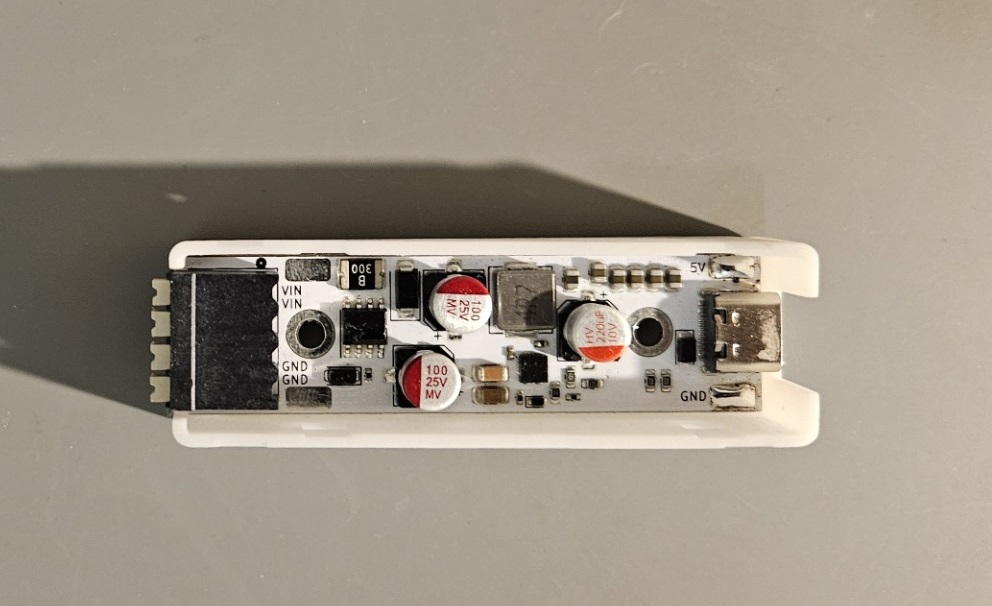
The output of the Zinc-V is nominally 5.2V with up to 4A continuous load current. Check the Electrical Specifications page for information about how continuous load current is affected by the ambient temperature. This allows for some voltage drop over any cabling between it and powered devices. The output can be accessed via the two solderpads labeled 5V and GND, or simply via the USB-C port.
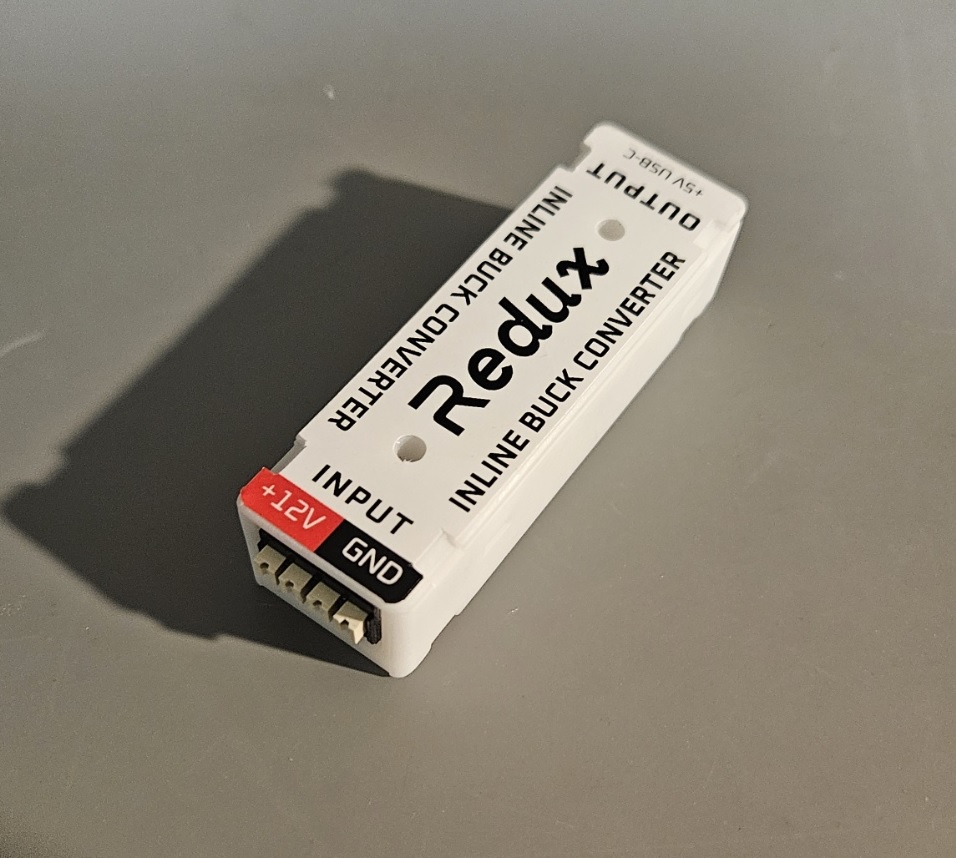
Case
The case is a simple snap-together part that holds the Zinc-V. It incorporates a locking USB-C threaded insert. Two #4 clearance holes are spaced 1.5” apart to allow mounting onto a 0.5” hole pattern, or you can use the ziptie grooves to hold it down.
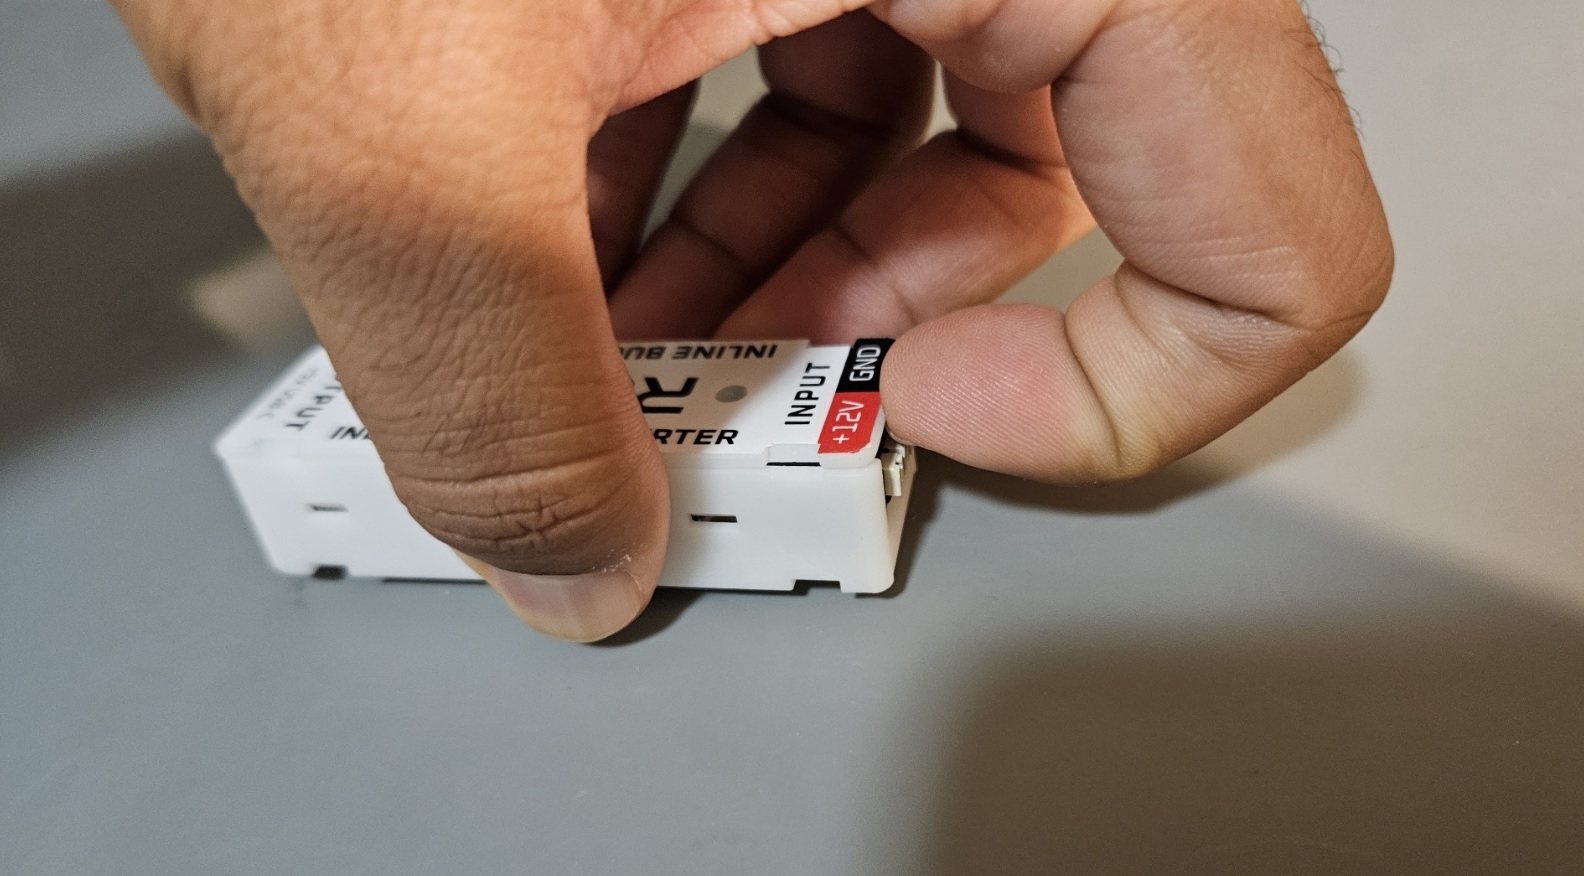
To assemble the case, first place the Zinc-V into the lower half.
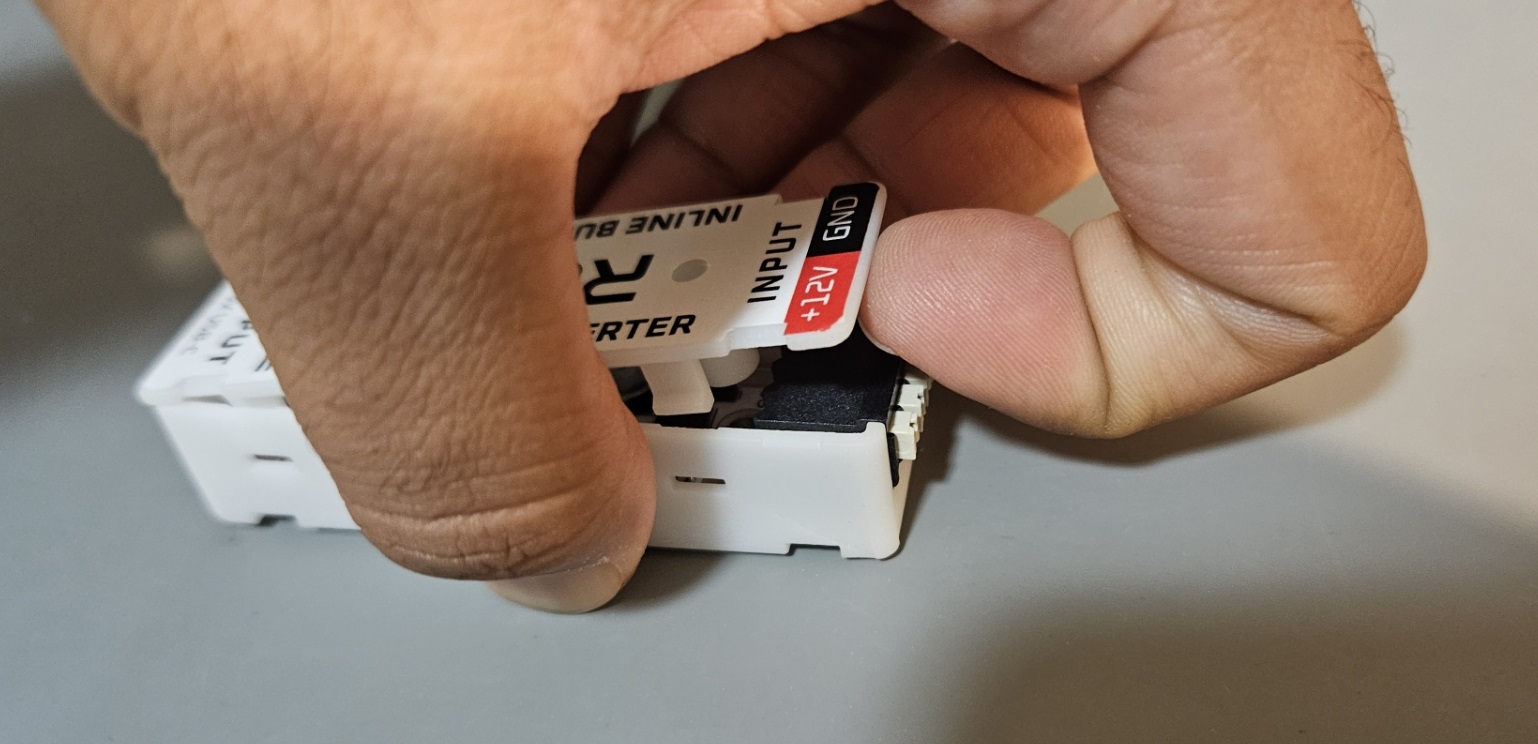
Then, slightly angle the lid to depress the snaps, and press down.
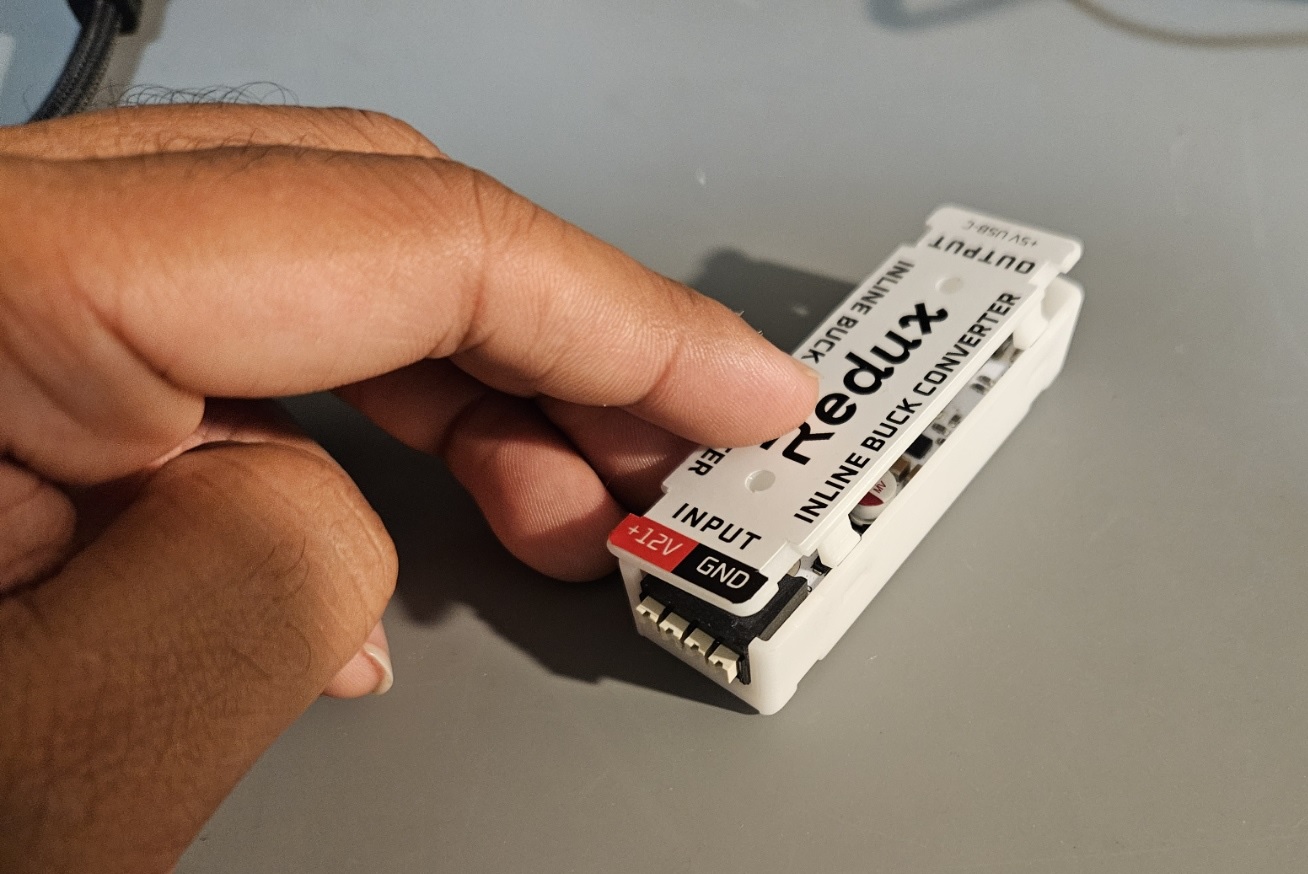
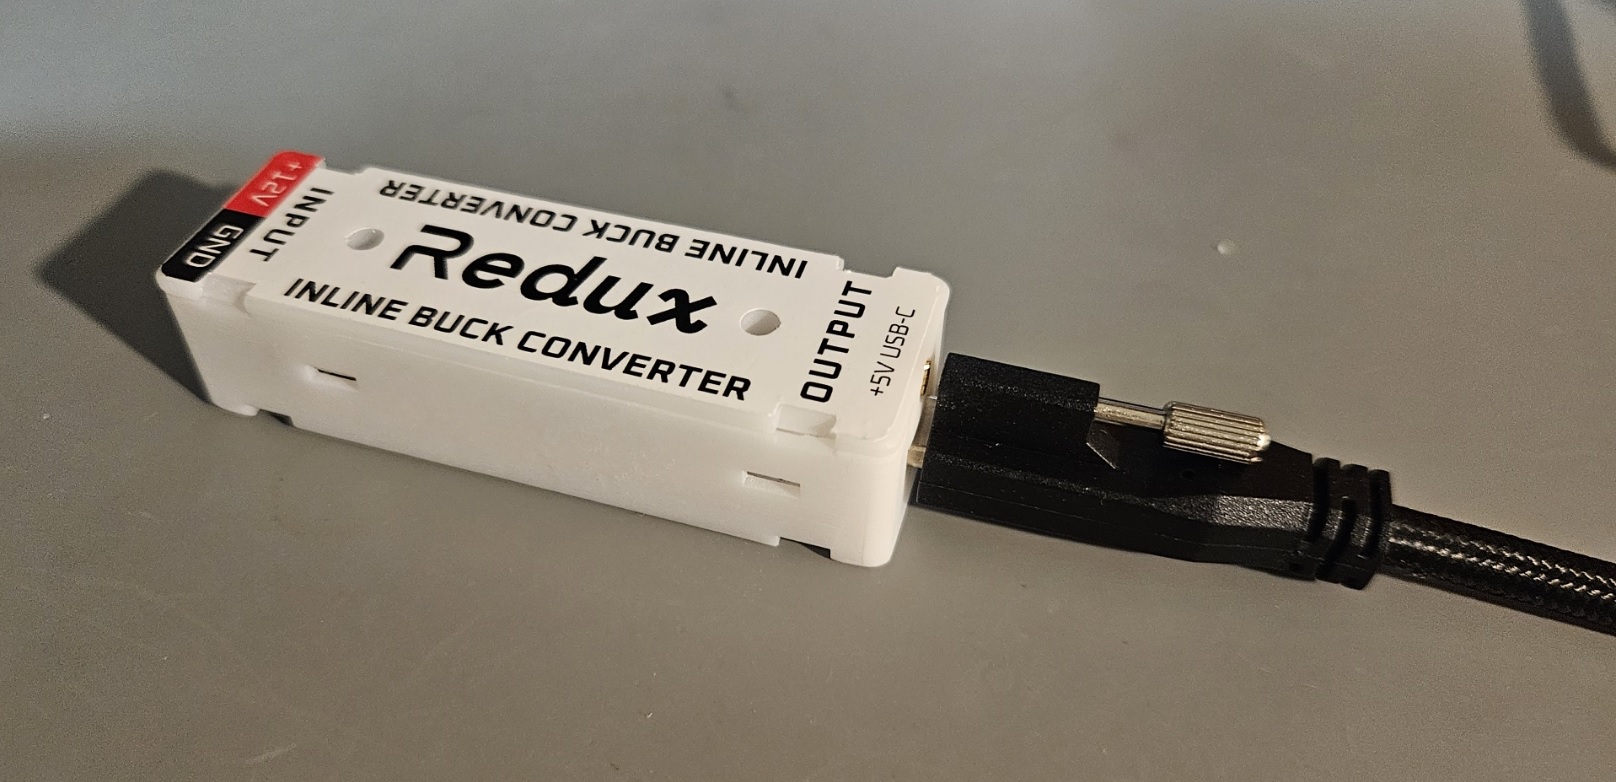
You are now ready to use the Zinc-V. Note that the casing will have trouble allowing soldered wires to exit the case without trimming.
To remove the lid, simply pull up on it from the terminal block end of the Zinc-V. It should come off easily.
Warning
Do not attempt to remove the lid while a locking USB-C cable is attached to the Zinc-V!
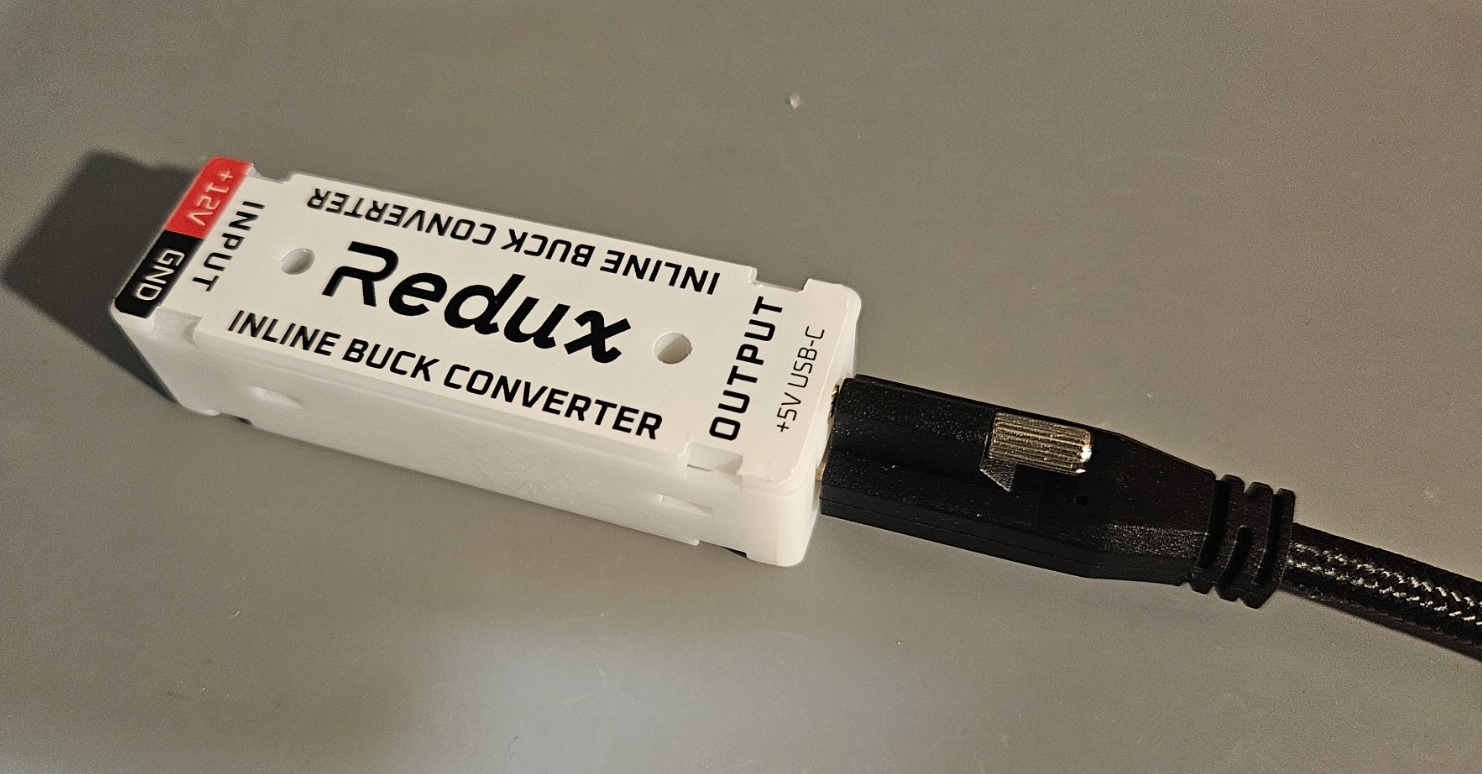
Locking USB Interface
A USB-C locking cable (sold separately) will allow you to power your coprocessor via the USB-C port without worrying about a cable unplug. It’s now possible with wire your coprocessor securely without any soldering or crimping. To attach a locking USB-C cable, first plug it into the USB-C port normally.
Next, use a small flathead screwdriver to turn the M2 locking screw. Be careful not to overtighten the screw as this could damage the case.
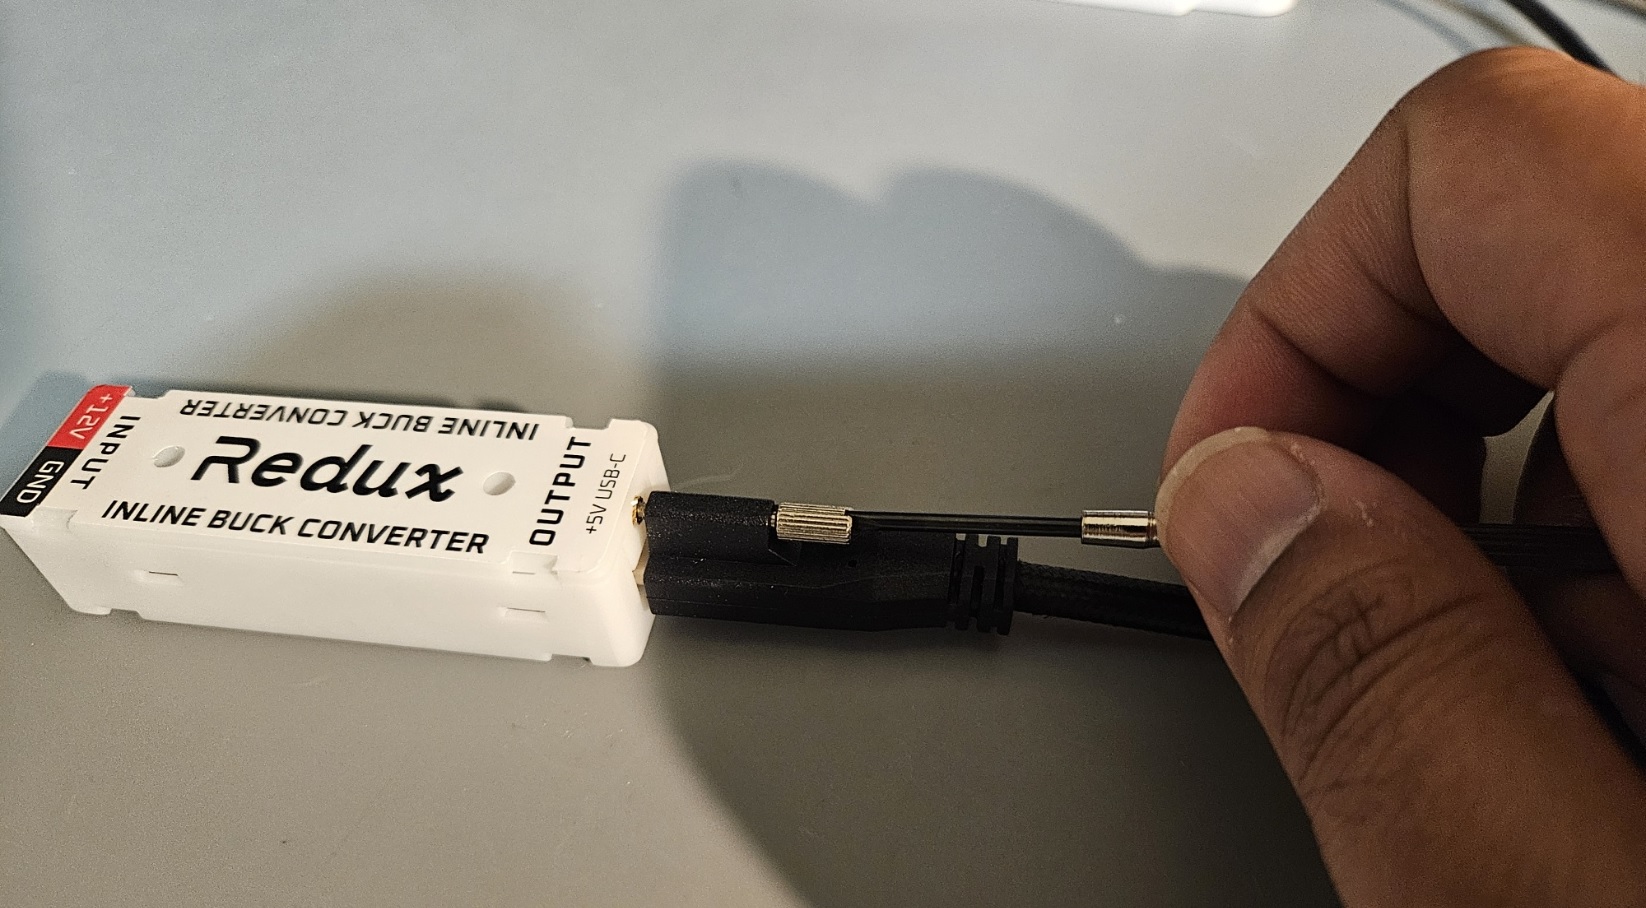
Once tight, USB cable is now locked securely to the Zinc-V.